Axial Racing Wraith Spawn 2.2
This section focuses on the Axial Wraith Spawn 2.2 RC rock crawler / rock racer. This is a very well known platform with plenty of excellent information about this on-line. The following is my take on the Wraith Spawn in both the stock form and an upgraded version. I hope you enjoy the information.
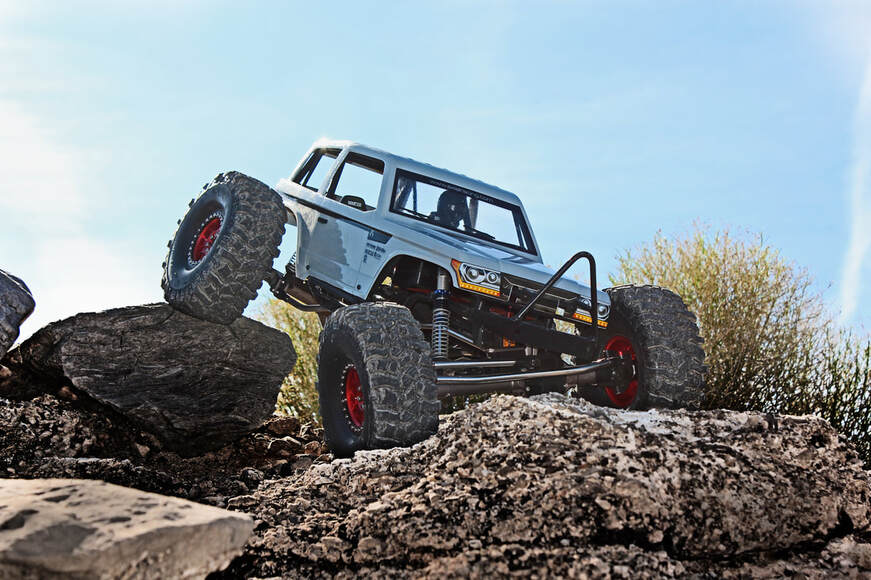
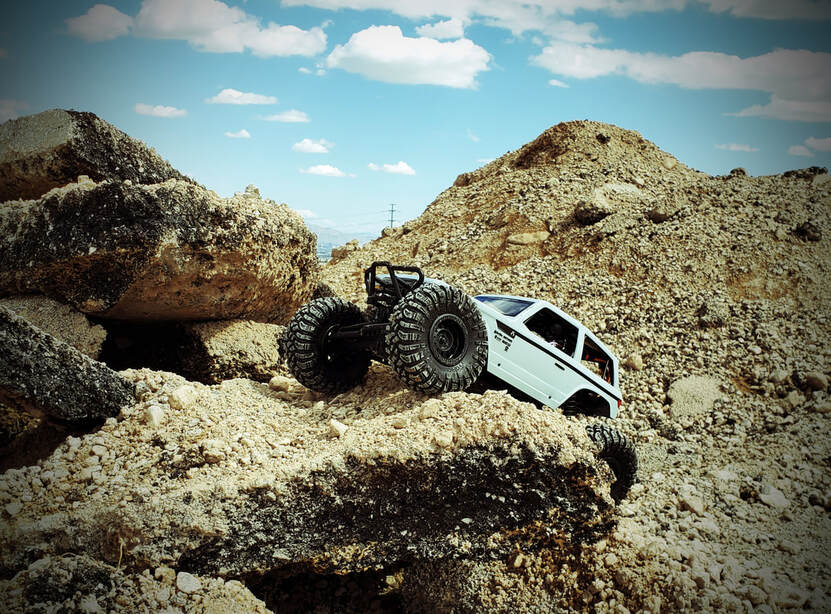 Axial's Wraith Spawn going up and over.
Axial's excellent RC rock crawler / rock racer, the Wraith Spawn, is a robustly built 2.2 vehicle offer in a Ready to Run ( RTR ) platform.
For the most part, the description "RTR," is a widely accepted industry standard meaning that the vehicle has all required electronics and fully assembled, only requiring the owner to purchase separately a battery for the vehicle and provided transmitter.
I purchased this Axial RTR from RC Planet for $369.00 (AXIAX90045).
There are a few variants on the Wraith, including their 1.9" "scaler" trucks which are designed to look as real as possible, as well as their now discontinued version called the Poison Spyder which has a different outer body.
The other currently offered version of this vehicle is the Wraith, which has a different body on the outside and a slightly different setup on electronics and a few other features such as lights ( don't care ) and a power switch ( do care ). The Wraith Spawn does not have an on/off switch, and you must unplug your battery after running, or it will slowly drain the battery and ruin it. I did this one day by leaving my Spektrum 2s battery plugged in overnight after crawling for about an hour, thus it was slowly drained overnight beyond the point where my charger would see both lipo cells in the pack. Poof, $50 gone, and this was 100% my fault for being lazy. I had about six runs on the battery before I made that mistake.
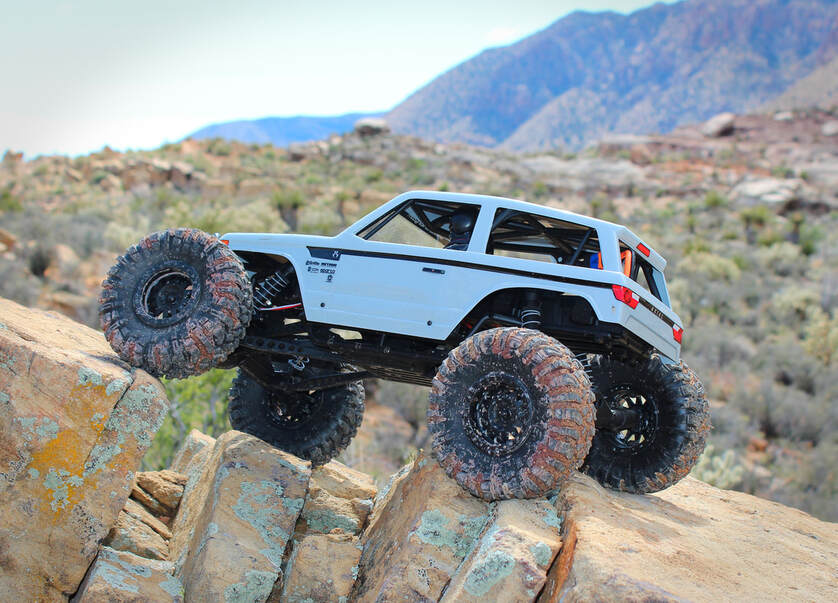
I went with the Wraith Spawn RTR based on the visual appeal, and it being a great starting point for my first crawler. I had no intention of using this as a rock racer, so most modifications I had in mind where going to be oriented in developing its crawling ability. Slow and steady was the plan.
Before I launched into changing the Wraith, my first interest was to see how it performed in the factory configuration. I purchased a pair of Spektrum 2s 5000 mAh / 7.4v / 30 C batteries ( SPMX50002S30H5 ) for the truck and added the required AA batteries to the transmitter.
The supplied transmitter is the Tactic TTX300, which is part of the RTR kit, and actually does just fine for its intended use. Often times people refer to these transmitters as "throw away" units due to their limited tuning options, or that they prefer their own transmitter of choice due to more functionality or style. That said, for me the Tactic did quite well and I'm still using it as of this date. While I do have a nicer transmitter for my Nomad and SCT truck, I have yet to be crawling and think that if I had a better transmitter, I would have climbed that rock better. My point here is don't think you need to toss this aside and purchase a new transmitter; this is a nice RTR package from Axial.
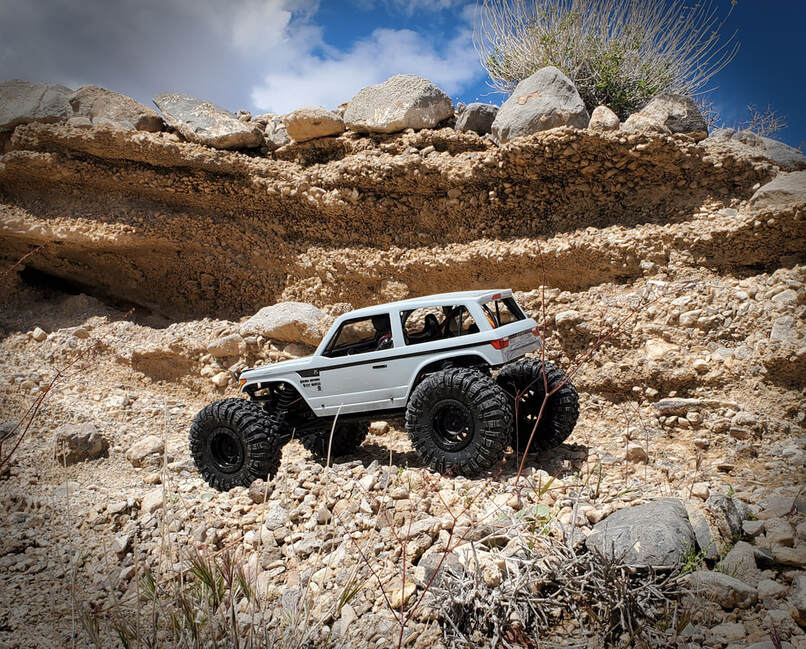 Clouds moving in fast
My first couple of trips out and about consisted of visits to a local construction site, and this was right on the edge of the desert where a new development was going up. I cruised around the torn-up dirt, getting a feel for the Wraith, which actually surprised me with its speed and handling.
After a half-hour or so of this, I moved off into the desert and found a narrow slit of a wash near by. This wash was fairly small, being only six feet deep and a few hundred yards long, and nicely adorned with interesting looking rocks and sloping, jagged dirt walls which twisted their way along the length of the wash.
I was able to guide the Wraith down into the sandy bottom and start working my way up the main path of the wash, looking for smaller rocks to climb over. Surprisingly, the Wraith easily crawled over rocks which would have brought my Nomad DB 8 buggy to a complete stop. The more I moved along the rocks and ledges, the more this crawler impressed me.
I had initially discounted the crawler, thinking it would be slow, cumbersome, and quite limited in the "fun factor" when compared to my money-pit of an Short Course Truck ( SCT ), but after an hour of crawling easily through the rocky terrain, I was hooked. I was also hooked on one-hour run times when compared to the battery-hog SCT.
That first adventure completely changed my perspective on RC crawlers, and I decided that rather than making changes right away, I would take a number of adventures out in our desert area to get a good feel of the truck and just what it could do in its stock setup.
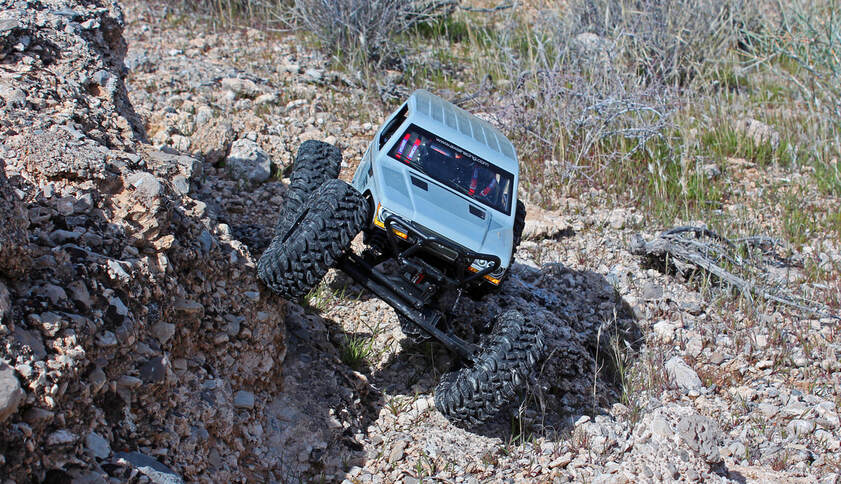 Axial's Wraith Spawn is a crawling machine.!
With the plan to keep the Wraith in its factory setup, my main goal was to get as many trail adventures in as possible before parts started failing.
I was able to go on quite a few of these before I felt that I knew enough as to what I was looking for by making changes. I didn't want to make a change just for the sake of do it; there needed to be a reason.
For a completely stock RC vehicle, the Wraith continued to impress me with its level of performance. I could go out and run two of my Spektrum 2s 5000 mAh Lipo packs for almost two hours without a single malfunction. The Wraith just kept crawling along the trails.
I do want to point out that it was the end of winter with temperatures in the low 60’s. I mention this because as the days grew warmer, I needed to stop from time to time and allow the motor to cool. I’ll get into more detail on outside temperatures related to run time later on in this review.
The factory Rip Saw tires were excellent; again something that I did not expect. Factory tires are almost always a compromise between performance and cost, but these Rip Saws from Axial were outstanding.
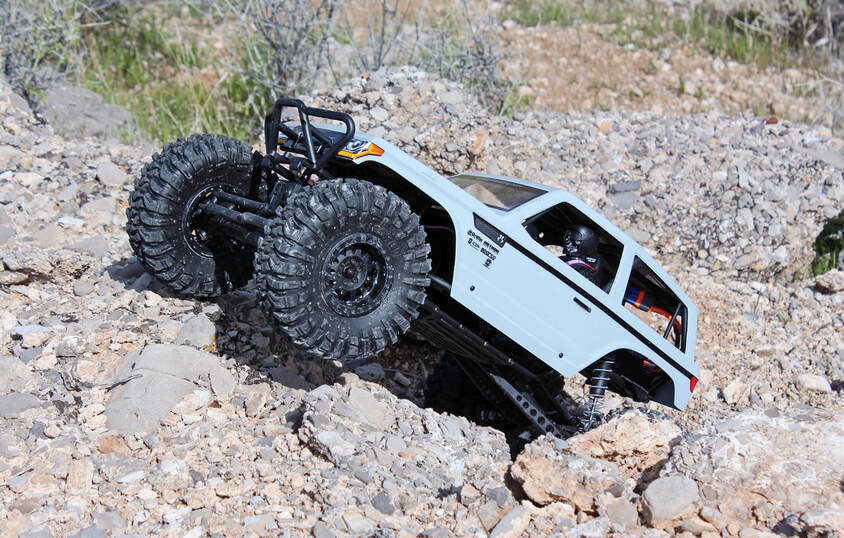 On steep sections, the rear battery location makes the front tires a bit light.
After a number of trips there was one item that I wanted to address first; battery location.
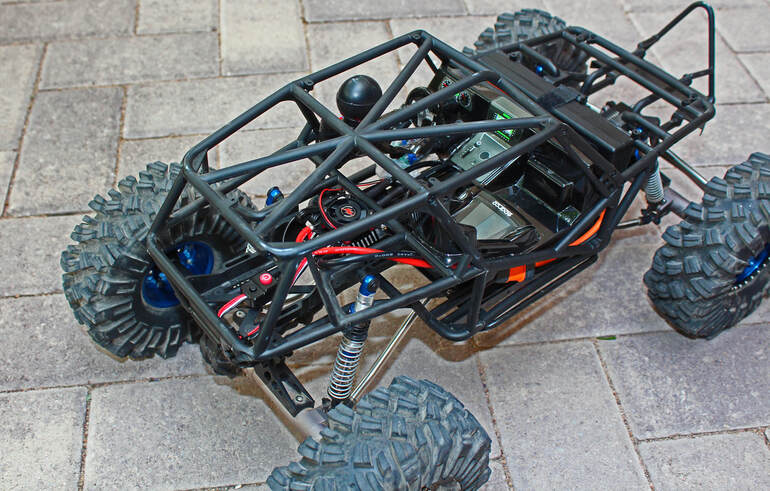
The Wraith has this excellent battery tray placed over the rear axle, and while it does a good job in securely holding a 2s battery in position, it also places the battery’s weight over the rear axle. On a rock crawler, this is not ideal for two reasons.
First is that the Wraith's weight is oriented towards the rear of the truck, making the drive terrain want to push more than pull itself over the rocks.
The lack of weight over the front tires greatly reduces their traction, and this is especially noticeable when crawling larger rocks that lift the front of the truck up quickly, transferring the weight almost completely to the rear tires. In essence, you have a two-wheel drive truck at that point. With no weight over the front tires, they cannot find traction to “pull” the truck up the rock.
The second issue was that the battery tray was also pretty high up from the bottom of the chassis, elevating the center-of-gravity ( GC ) substantially. This elevated CG along with the weight being oriented toward the rear caused the Wraith to tip backwards on steep inclines. Once the incline became greater than 50 degrees, the Wraith would start to tilt back, pivoting over the rear axle and tipping backwards.
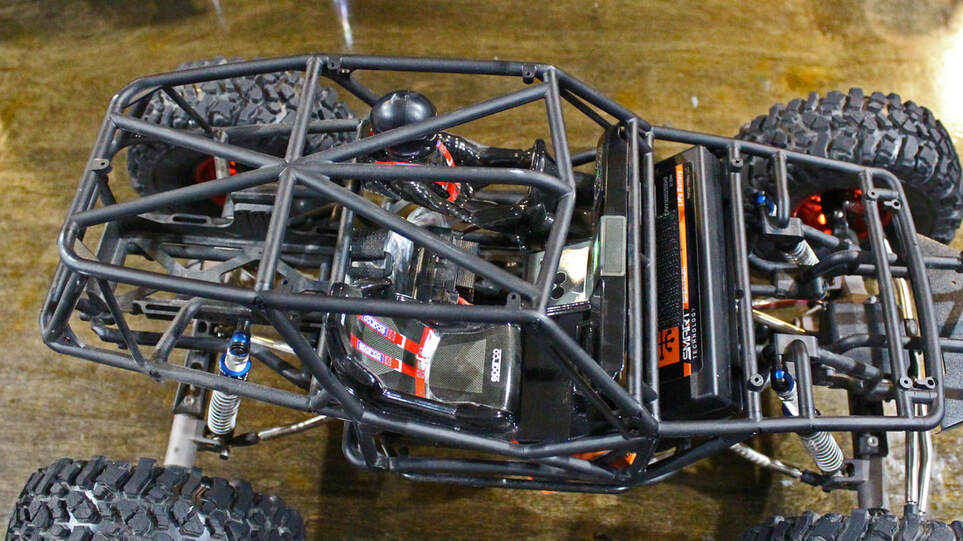 ESC and Battery relocation greatly improves climbing. Axial's new updated Bomber RR 10 incorporates this layout.
I started with the ESC. The original location had it mounted on the side of the fame, just behind the driver door, underneath the driver.
It is just attached by a single screw securing it to the chassis tubing. This location also had the ESC in the path of any dirt, mud, or rocks being kicked up by the front driver-side tire.
That alone was reason enough to move the unit.
I selected the rear of the battery tray as the new location for the ESC. Mounting the ESC with some double sided tape and a small screw was simple. I did need to trim away some of the plastic between the driver and passenger seats. Now it was time for the receiver relocation.
From the factory, the receiver box sits above the front axle and contains the receiver and extra wiring from the servo which is mounted just below. This receiver box is nearly water tight and robust, but it takes up a lot of space. With my main goal of using the Wraith as a crawler and doing nearly all of my climbing in the local desert area, I didn’t need the water protection. Removing the receiver box also open up the front of the Wraith to many different battery mounting options.
Once I removed the receiver box, I took the small receiver out from the box and wrapped it in a small, thick plastic bag. After sealing it shut, I zip-tied the end of the bag around the wires, and placed it behind the ESC in the now empty battery tray. This would keep the dust and just about any water I would encounter away from the receiver.
By making these changes, I now could set my large Spektrum 2s battery sideways in front of the Wraith, just past the chassis brace of the dash board. I ran a single loop of Velcro to secure the battery in place; there really wasn’t much room for it to bounce around. Now the weight was more forward on the chassis, and just a bit lower down than it was in the rear. Smaller batteries fit even easier, but you might need a few Velcro straps to secure it in place.
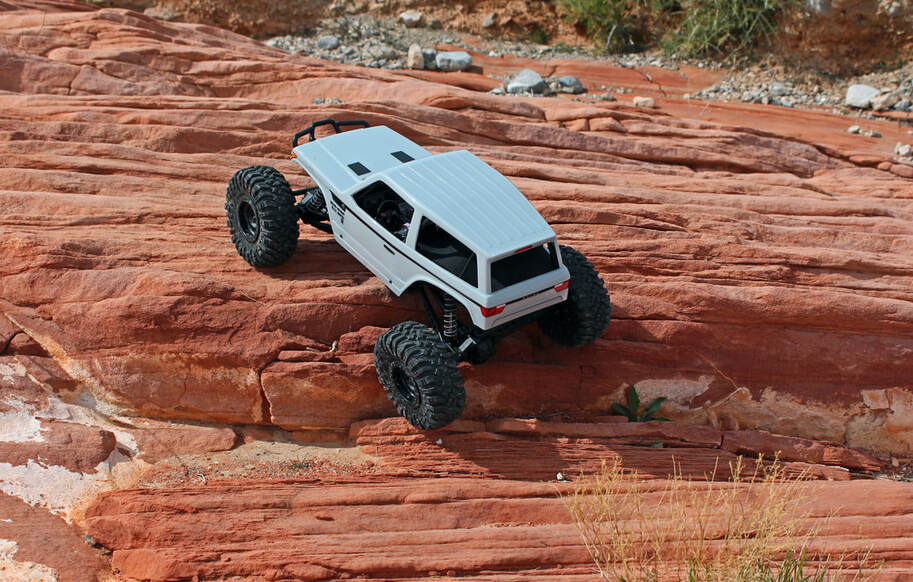 The Wraith Spawn easily climbed this ledge after I moved the battery.
I headed out to a small area of red sandstone not far away and gave it a test run, and the difference was immediately noticeable.
The front Rip Saw tires grabbed much better and the Wraith could ascend steeper inclines before it began tilting back. I felt much more confident climbing over lips and out-stretched ledges which used to send the Wraith tumbling over and back down the hill.
Being overall pleased with this change, I still had an itch to change a few parts and see if performance would continue to improve.
The next step was to install the new Pro Line Racing Pro-Spec Scaler shocks, 105mm – 110mm range. These would fit the Wraith perfectly, and offer a wider range of adjustments, and also look pretty fancy.
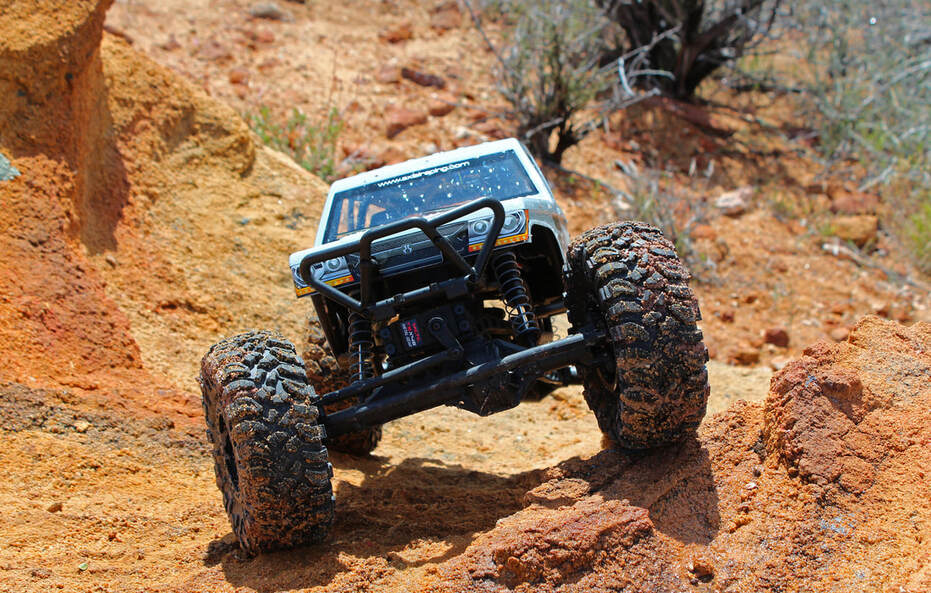 Climbing up the wet sandstone of Nixon's Line
Changing out the shocks was the first of an “optional” series of upgrades performed on the Wraith.
The factory shock is an adjustable 72mm to 103mm system, built from plastic and using a steel shaft and springs.
The adjustments are virtually the same as any premium shock on the market, allowing for ride height adjustments, spring changes, and shock oil changing / servicing. This is not a cheap sealed unit found on lower quality crawlers, but a well-designed and affordable shock.
With proper tuning and experimentation, the shock performed very well. After my first outing on the trail, I drained my shocks out and filled them with 15wt oil from TLR and adjusted the ride height. Because I'm crawling pretty slow, I prefer a lighter shock oil. You may want to try a heavier weight if your bouncing through the rocks with any speed. For the next series of trail adventures, I found plenty of travel and control on the Wraith, especially when negotiating chunky terrain.
As for its longevity, that is debatable. As a rock racer, I think you could beat this shock down and cause a failure after smashing through a rough race course, but as a crawler, I’m not so sure it would fail anytime soon. The shock is rebuildable with parts listed on Axial’s excellent website, so if you’re set on keeping the original shocks that came with the Wraith, you could easily maintain them for quite a while.
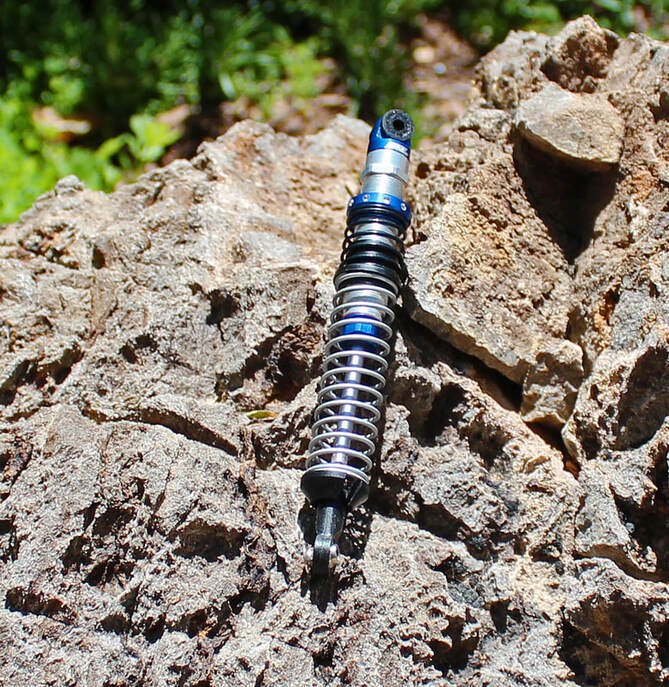 Pro Line Racing 105mm Scaler Shocks
With all of this positive discussion about the factory shocks, why change them?
I wanted to see if upgraded shocks could improve low-speed control of the Wraith, and I had worked with Pro Line shocks before and currently run them on my Senton 3s SC truck. They have been rather tough, handling just about any high-speed crash the Senton takes, easily surviving the carnage.
Once the Pro Line Scaler Shocks arrived, I did a quick inspection and filled them with 15wt TLR shock oil.
After working the bubbles out and setting them to have virtually no residual air pressure inside the shock body, I compared the Scaler shocks side by side with the Axial factory shocks, and I could easily feel the difference between the two.
The Pro Line shock was smoother through the travel range and had a bit more heft to the feel of an aluminum shock body and components. Pro Line also uses a more advanced o-ring seal system to keep the dust and debris out, and the main shaft is a high-quality hard chrome plating.
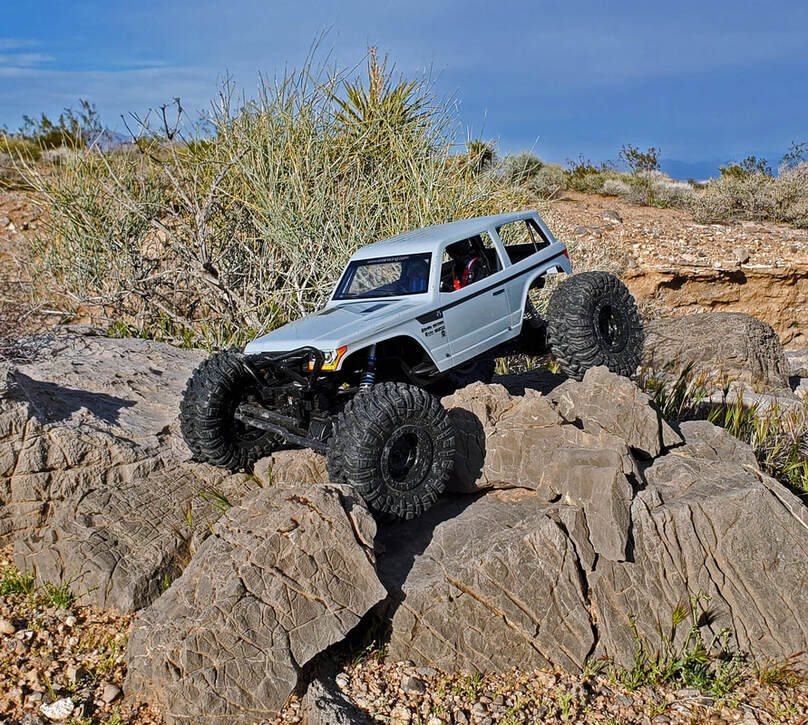 First adventure with the Pro Line Pro-Spec Scaler Shocks
The other advantage is the dual-spring system used on the Pro Line shock. This allows you to have a “progressive” feel to the shock, where you have small bump compliance by the softer upper spring and then control over larger rocks with a firmer lower spring.
These two springs are separated by a unique dual-rate shock slider which sits between the upper and lower spring. The slider’s long side, underneath the upper spring, acts as a travel-stop for the upper spring once it reaches a predetermined amount compression.
During compression of the shock, the softer upper spring undergoes movement first until it reaches maximum compression, then the floating collar underneath the upper spring makes contact with the threaded upper ride height adjustment collar. When this occurs, the load is now complete transferred to the stiffer lower spring.
The end result is a shock which allows for quick, smooth movement over smaller rocks, and then a firmer, more controlled movement over larger rocks or steep transitions. Watching the Wraith move across rocks give the appearance of it floating over the smaller rocks in the terrain, and then smoothly the suspension works over the larger rocks.
What I like about these shocks is that when you are crawling slowly over a technical feature, the truck loads and unloads smoothly as the weight distribution changes. The level of control is very impressive. The shocks also look pretty nifty.
Of course there is the cost. A set of 4 shocks will run you approximately $140, and that is rather close to half the cost of the entire Wraith RTR kit. This is why I consider this upgrade to be an “optional” item for any Wraith owner; they’re expensive as they are nice.
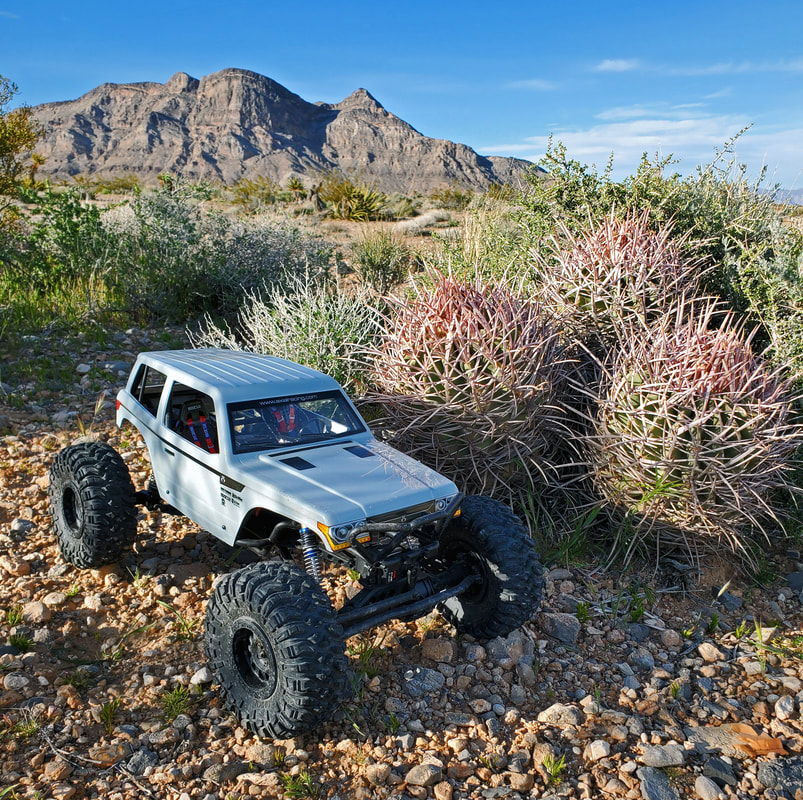 Axial did a great job with the Wraith Spawn.
With this change, you could be just fine stopping here.
The rest of the Wraith is more and adequate and will do exceedingly well as a casual crawler and trail cruiser.
For anything less than a competition rock crawler or rock racer, this set up is good to go. As parts wear out, you can replace them with the OEM equipment and a minimal cost.
You can even upgrade with a good number of affordable items from China via Ebay and not dump a small fortune into the truck.
The Wraith has been around for almost a decade, and the number of manufacturers who offer upgrades is endless.
The one other option to consider is upgrading the servo, and we will get to that shortly.
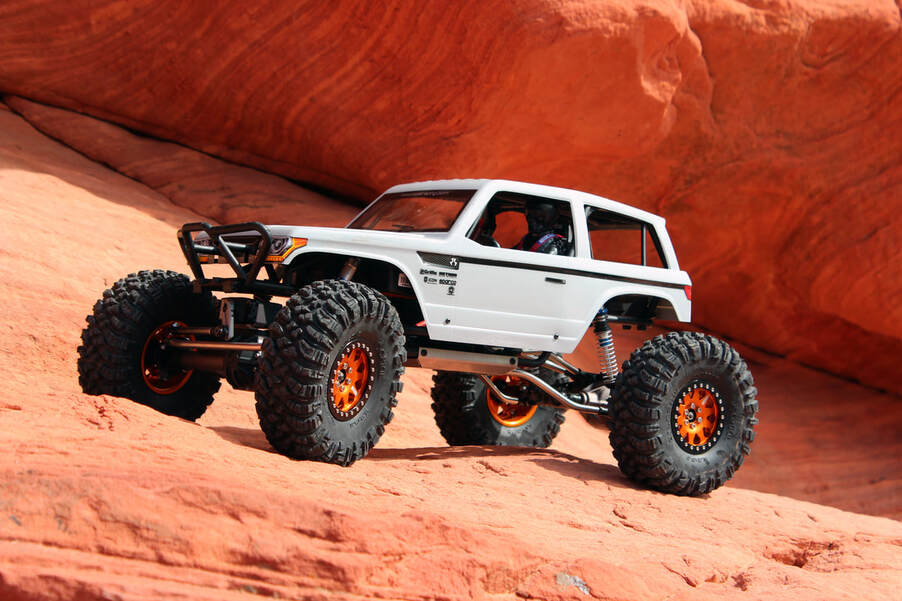 The Wraith running just about everything from Vanquish Products which will fit.
Installing the Pro Line racing shocks was the first step into the bottomless rabbit hole of aftermarket parts.
There are more companies making aftermarket RC crawler parts that you can shake a stick at, and one of the most popular companies in the aftermarket industry is Vanquish Products.
I did some studying on their product line, and there is a dizzying suite of optional parts to choose from.
After some discussion with their techs, I went all in and ordered a large number of parts. Here is the list for all the Vanquish part which were ordered, as well as some items from Incision product line. Some of the parts listed below I needed a pair to complete the truck, and others I ordered in larger quantities, such as screw kits.
I figured this would be a good start and keep me busy at the work bench for a day.
|
|
|
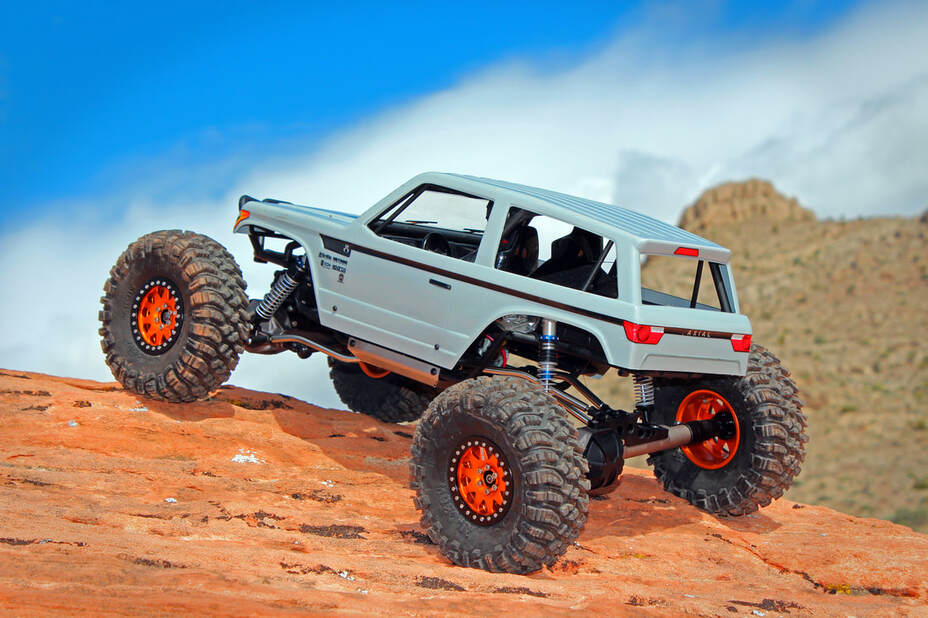
While it did take some time to get these parts installed, I as surprised as to how well everything went together.
From here I added on the MIP HD center drive kit, steel transmission gears, stainless steel bottom plate to protect the chassis.
There was a point where I was keeping track of the investment total, but after a bit I stopped. It costs what it costs, and as I said before, none of these parts are “necessary” to enjoy the Wraith.
The excellent quality makes them enjoyable to work with, and the first day back on the trail made me a believer.
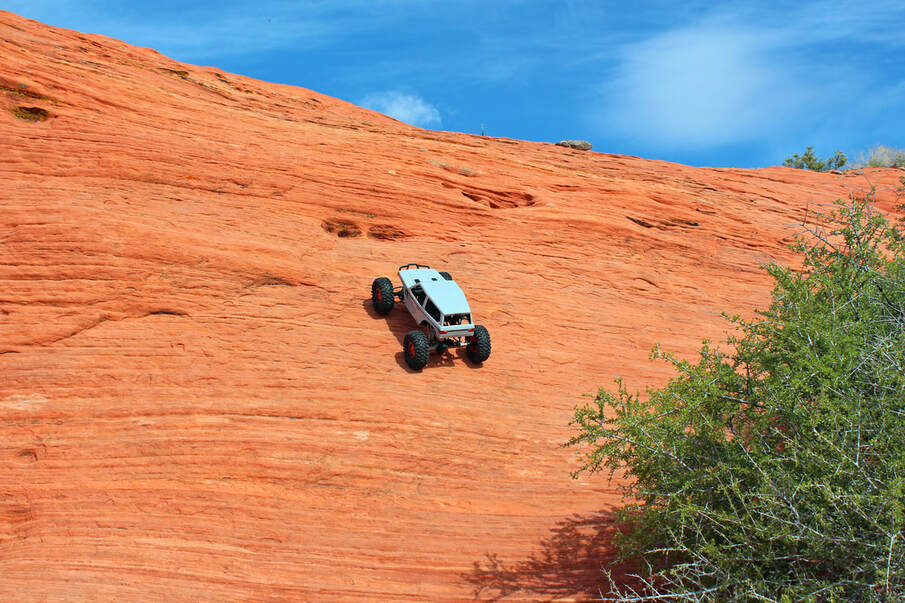 What was not possible before is now routine for the upgraded Wraith.
My first day back in the red rocks, and the newly modified Wraith made short work of technical climbs which were giving me fits in the past.
Before the tires would struggle to hook into the steep sandstone surface, but now they held tight and the reason was weight; a lot more of it.
Out of the box, the Wraith Spawn is 5.5 lbs without battery. With the modifications ( as well as a few bits from Scaler Fab ), my Wraith now sits at 8.2 lbs.
This kind of weight gain completely changed the way the Wraith could grip the rock surface. The increased weight would push down on the tires, flexing the tire’s sidewall and forcing it to conform to the rock’s uneven surface.
The Axial Rip Saw factory tires, which are actually quite good tires, came alive and I could see and hear the cleats grind and pull for traction. This was all with the single-stage factory tire foams.
Virtually all suspension and drive terrain parts were changed from plastic to steel; and the resulting change in feel was remarkable.
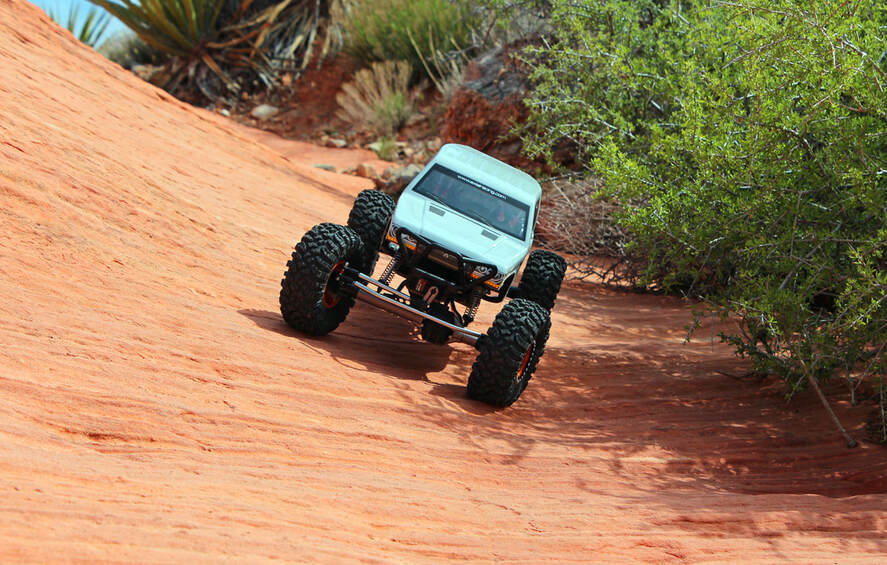 Putting a bit of strain on the RTR servo.
This wasn’t the end of the road (or trail) for modifications; I still had not addressed the electronics. For this discussion, I will set aside the motor and ESC, and just focus on the factory servo.
Like most RTR’s, the stock servo leaves much to be desired in terms of torque, but the factory unit in the Wraith is pretty decent. It had held up well until I started changing parts.
When Axial designed the Wraith, the used plastic extensively for two specific reasons; cost savings and durability. The cost savings part is obvious, but the durability reason is understated but quite relevant.
Looking closer at the plastic steering linkage, you will see that when the servo horn moves the steering linkage rods, they remain rigid throughout their motion and transfer the force directly to the steering knuckles. Over surfaces such as small rocks on a common crawling trail, this is the standard operation of the steering.
In situations where the front tires encounter a large obstacle such as a hefty rock, or making a sharp turn on a decent where the weight of the truck is pushing down, or even in deep sand or mud, the increased resistance to the tire prevents the full amount of steering that the servo is attempting to accomplish.
Once the steering resistance increases in these conditions, the steering linkage flexes to a degree, thereby taking some of the load off of the servo’s horn and gearing inside the servo. This flexing property of the plastic parts is a key design feature throughout the Wraith’s steering, doing a fairly good job of protecting the servo under normal trail driving or rock crawling conditions. Usually there is a high-pitched audible whine from a servo under heavy loads, giving the driver a chance to make a correction to the truck’s position.
When I swapped all of the plastic linkage parts out to stainless steel, there was no longer any give or flexing in the system. Now, when the tires run into an obstacle, any force which is not absorbed by the large 2.2 tires and foam is directly applied to the servo.
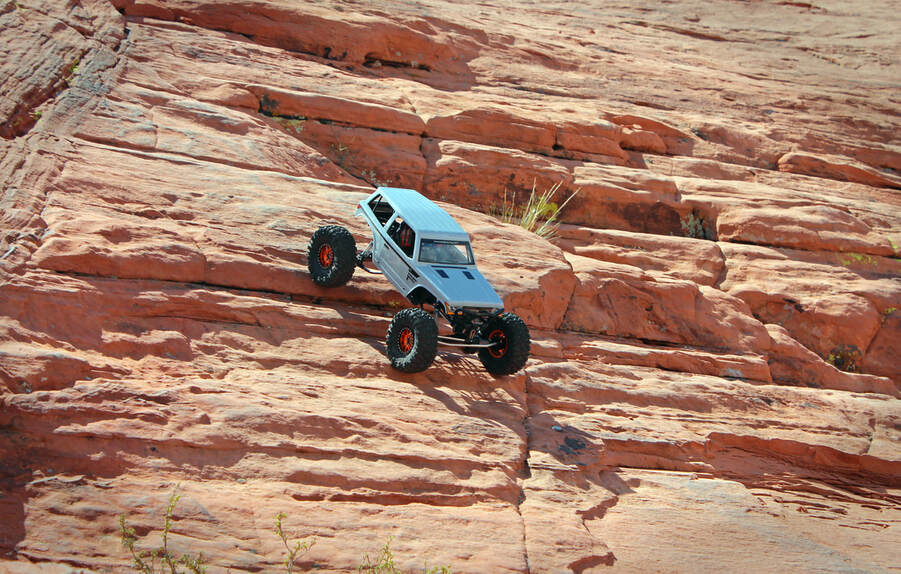 Final run before the factory servo died. It was a good run while it lasted.
Half way through my first crawling session with the new parts installed, the servo began to make some unpleasant noises.
The steering felt sluggish and unreliable, and when coupled with the deeper whining sound which wasn’t there at the start of the day, I figured the gears and/or servo motor were beginning to fail.
After about an hour on the rocks, the servo was done. Steering was sporadic and more than a few times the Wraith would head off in an unexpected direction during a large decent on the rock face.
With the last decent being a bit stressful, it was time to upgrade the servo. Knowing that I was also planning to upgrade the motor and ESC, I ordered two servos; one as a temporary unit to keep me on the trail, and a second, more robust unit that would handle the power of an upgraded motor and ESC.
 Back on the trail with the Savox SC 1201 MG servo.
I selected a Savox product for both units because I had already upgraded a few other vehicles with their servos and had been pleased with the results.
With the factory motor still running well and pleased with performance on 2s Lipo, I installed the temporary Savox servo, model SC-1201 MG.
I picked this unit up on-line for $60.00. Changing units out only took a few minutes, and right way I could see a considerable power difference from the additional 100 ounces of motor torque.
Once I had the servo installed, I was able to get right back out on the trail and enjoy quite a few great crawling sessions. The factory motor and ESC continued to perform well, and I really had no complaints at the at the time.
While I was busy with the Wraith and a few projects with the Nomad, I did order the second servo as well as a motor and ESC package.
After looking at the various options for motors and ESC’s, I decided to go with the XERUN AXE 540 system combo.
This new motor is specially designed for crawling with an excellent app for fine tuning by using your mobile phone. The Bluetooth technology is impressive for sure, and they were in stock for $199.00.
To match this new motor and ESC, I also swapped out the servo with a Savox Monster Torque SB 2290 SG Black Edition. This servo selection was a little over the top, but I knew that during the testing sessions I was going to be pushing some of these tires to their max potential and I wanted a servo which could easily handle the testing. It also looks pretty fancy.
With the electronics installed and the fine tuning complete, I was ready to head out for some tire testing.
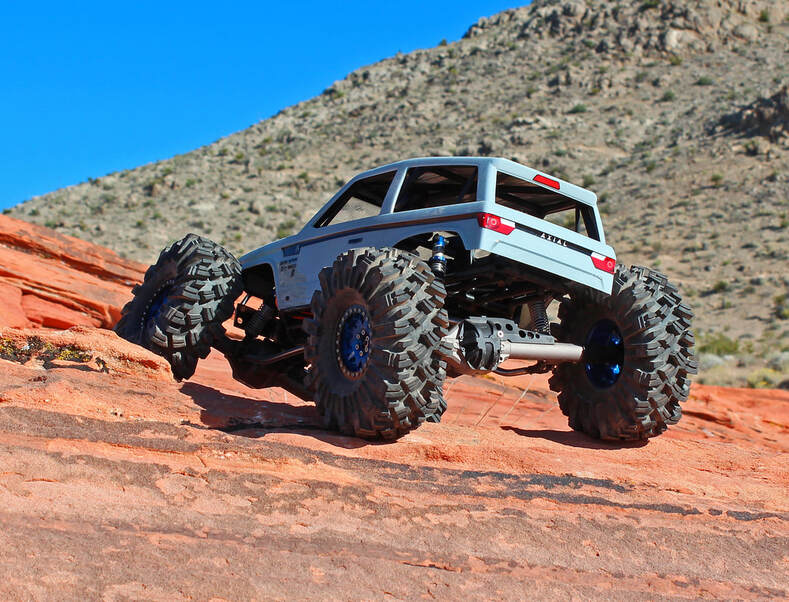 Good times on the trail.
The new motor, ESC, and servo finished out the changes I wanted to do to the Wraith.
I’m very pleased with the crawler, and I am looking forward to many more trail adventures and tire testing.
From here on, my plan is to replace parts as they fail and keep a rolling log of these items at the bottom of this page.
Until then, stay safe out there and I hope you enjoyed this information. I do appreciate your time.
Last Update: 6/3/2020